Helping Build a Fence
Our friends need help to build a privacy fence since they are getting crazy high quotes of tens of thousands of dollars to build a simple privacy fence.
Here are the basics on how I attack building a privacy fence
Getting Started
Preparation
- mark out where your fence is going
- call miss dig to make sure you aren't going to hit any under ground wiring
- get a building permit from your city
- measure the total area (length of each leg) to help price out material
Gather tools and material
To dig a post hole and set a post in concrete, you’ll need some tools:
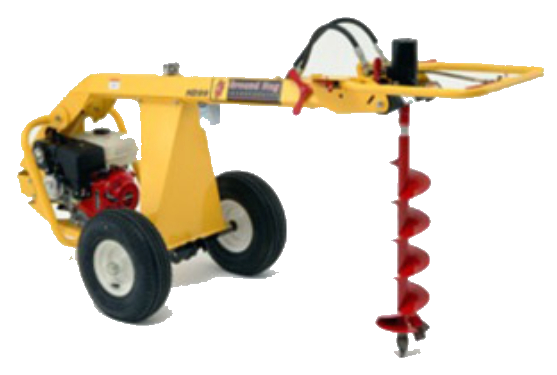
- Post hole digger or power auger (the towable auger at home depot is roughly $124/day and can be operated by one person and saves your back)
- Cordless drill
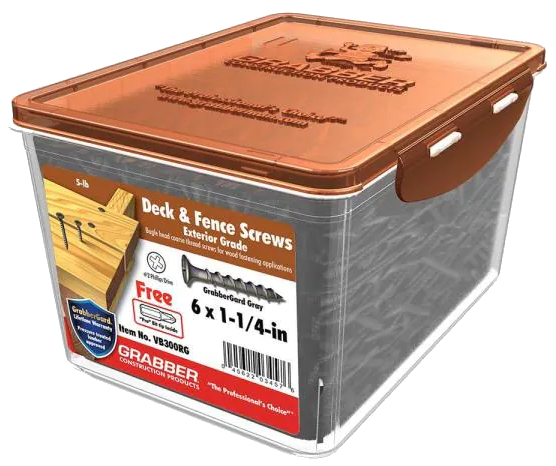
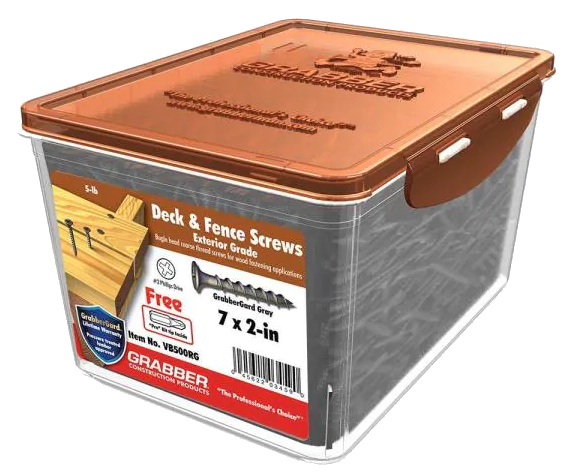
- Screws (2" deck screws for a 5lb box around $30/box and the 1-1/4" deck screws for a 5lb box run around $30)
- Hammer
- Box Level
- Tape Measure
- Flat Shovel
- Bucket/wheel barrow to mix concrete in
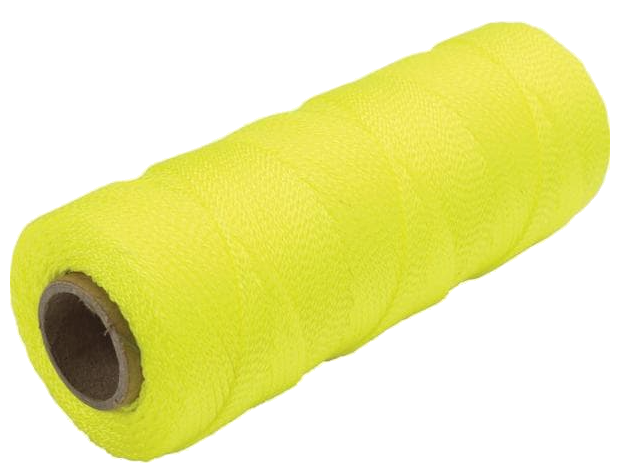
- Heavy String (500ft is around $10)
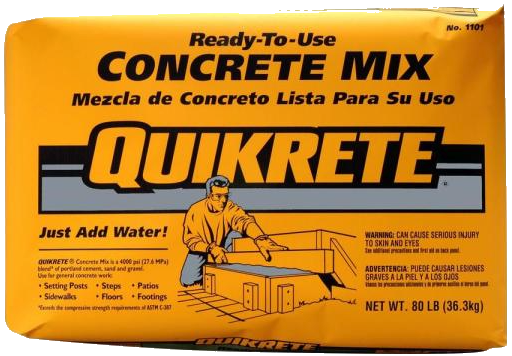
- Quick-set concrete (an 80lb bag should cover 2-3 posts on avg and costs around $5/bag)
- Access to water
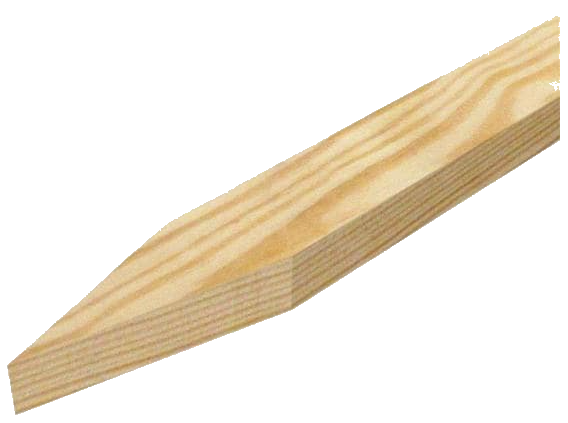
- Wooden Stakes (used to mark out the fence line, todays cost for a 12pack of 1 in. x 2 in. x 2 ft runs around $7)
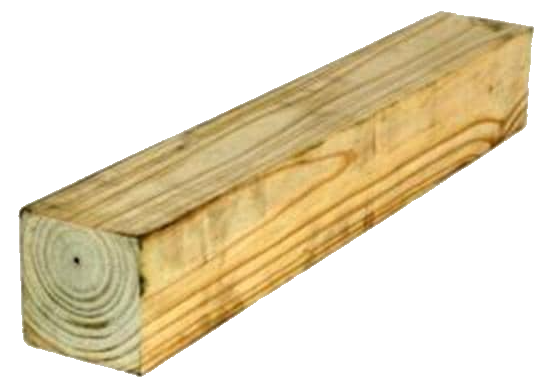
- 4x4 8' pressure treated boards
- 2x4 8' pressure treated boards
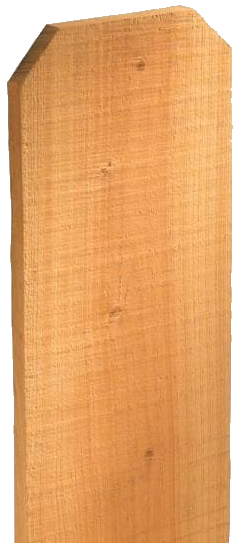
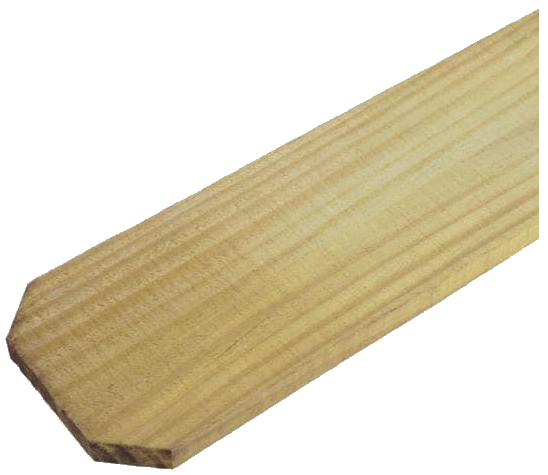
- 6" x 6' Dog Ear fence boards
Mark your fence run
The first step to any fence project is marking the exact location of your fence run. To do this, drive stakes into the ground at the corners and ends of your fence run. Stretch heavy string between the stakes and pull tight. This string line will help you set your fence posts in a straight line.
Mark your post hole locations
Next, you’ll want to mark your post hole locations along the string line. Post hole spacing is dependent on the width of your fence panels and the method by which you are attaching them to the posts. Typical post spacing is 6-7 feet, but can vary depending on the width of the fence panel. I don't like going past 7' since you'll start noticing over time fence sagging.
There are two main methods for attaching the fence panels to the posts – Face Mount or Between the Posts, for our fence we are going with Between the posts since it incorporates the 4x4 posts and makes the fence look good from either side.
Start digging
Now that we’ve marked our post locations, it’s time to start digging. In general, the post hole should be one third as deep as the fence is tall. So, if you’re installing a 6-foot tall fence, your 8' post hole should be at least two feet deep. You’ll also want to be sure the bottom of the post sits below the frost line. Hole is typically 6" wide by 2' deep.
You can use a post hole digger or power auger to dig the hole. A post hole digger is a manual tool and will get the job done in average soil. If you have hard, rocky soil or a lot of roots – you may want to opt for a power auger. Many home improvement stores have them available for rent.
QuoteNOTE: you may need to use a chainsaw or saws-all to cut roots so you have a clean 2' deep hole
Set posts in holes
Set your post in the hole. Check for plumb and make sure the front of the post is just touching the string line. This will help you set your fence posts in a straight line. Having a friend help you will make this much easier.
Pour the quick-setting concrete mix directly into the hole and pour water on top. Mix it up with a shovel in the hole, which will simultaneously remove air pockets. Once the concrete is thoroughly mixed, push some soil back on top of it. Re-check that your post is plum. NOTE: I will use a wheelbarrow to mix my concrete to a peanut butter consistency. With a hose I'll wet the bottom sides of the 4x4 that is in the hole and then start shoveling with my flat shovel the concrete from the wheel barrow into the hole using a stick or the handle end of the shovel to stab the concrete in attempt to remove any air pockets. Then once I verify the post is plum/level on the two sides, I'll pack the concrete by using my hand (with a glove) and then covering it with dirt.
Pause for concrete to set
Typically I like to wait for 12 hours after pouring concrete in the holes to let the concrete set and harden. Its no good to have done all that work to have your posts move on you while you are trying to install the dog ears.
Mark 4x4's
On each 4x4, from the ground up, measure 12" and mark. Measure 38" from bottom of 4x4 and mark. Measure 64" from bottom and mark. You'll want to see these marks on each of the inside of the 4x4's (the side that is facing the next 4x4)
Install Rail Brackets
Since we are going Between the posts for a cleaner look, we utilize Galvanized Rail Brackets that we attach to the inside of the 4x4's (bottom of rail bracket on the lines you marked at 12, 38 and 64" from the ground). Place rail bracket with bottom of bracket touching the marked line and put one screw in at the top of the rail bracket. Using a level measure vertically to make sure its straight up and down and run another 2" wood deck screw in the bottom of the rail bracket. Continue this until you have three rail brackets on each side of every 4x4. Again, you should be using 2" Wood Deck Galvanized Screws (they don't rust).
Attach Pressure Treated 2x4s in Rail Brackets
Measure length between 4x4 to 4x4 and cut three 2x4s to length and slide into Rail Brackets and fasten 2x4 to rail bracket using 1-1/4" Wood Deck Screws.
Run Guide String 4x4 to 4x4
Using that heavy duty string. Run from top of 4x4 to top of 4x4 so you know how high your dog ear boards go (never higher and never lower). To attached string you can put a screw in the top of the 4x4 and wrap string around screw then tighten screw.
Attach dog ear boards
There are two major kinds of dog ear boards. The inexpensive pine at todays prices in Michigan is around $2.50 a board but typically when you see a privacy fence that looks dirty its typically the pine since it doesn't weather well but looks great for the first year. Another choice is to use the more expensive cedar at around $4/board here in Michigan at todays prices.
Using your 1-1/4" Wood Deck Screws you attach the dog ear board to the 2x4's keeping a small gap between dog ear boards for expansion.
QuoteNOTE: you may need to make the dog ear boards shorter as you have different grades. Also you may find yourself needing to make a dog ear board skinner.. best to use a table saw but you can use a circular saw but you run the risk of it not being a straight cut and with fences it will be pretty obvious.



1 Comment
Recommended Comments